What should I do about scratches on a new car? How should a new car owner maintain and repair it?
Understanding Car Scratches
Discovering a scratch on your new car can be a disheartening experience. That perfect paint job you admired when you drove off the lot now has an unsightly blemish. But don't panic! Most scratches can be repaired, and with the right knowledge, you can prevent future damage.
In this comprehensive guide, we'll cover everything new car owners need to know about scratches: how to assess them, DIY repair options, when to seek professional help, and most importantly, how to prevent them from happening in the first place.
Types of Car Scratches
Not all scratches are created equal. Understanding the depth and type of scratch is crucial for determining the best repair method:
Clear Coat Scratches
Surface Level
These are the most common and least severe. They only affect the clear coat layer (the top protective layer of paint). You can usually feel them with your fingernail but they don't catch.
Examples: Light scuffs from dust, bird droppings that weren't cleaned promptly, or minor abrasions from clothing.
Base Coat Scratches
These scratches penetrate through the clear coat and into the base coat (the colored layer). They will catch your fingernail and are more visible.
Examples: Light keys scratches, deeper scuffs from other car doors, or debris kicked up while driving.
Primer or Metal Scratches
The most severe type, these scratches go through all layers to the primer or bare metal. They require professional repair to prevent rust.
Examples: Deep key scratches, accidents, or contact with sharp objects.
DIY Scratch Repair Methods
For minor scratches, you can often repair them yourself with the right tools and techniques. Here's how to handle each type:
Clear Coat Scratch Repair
Clean the Area
Wash and dry the affected area thoroughly to remove dirt and debris that could cause further damage during repair.
Apply Polishing Compound
Apply a small amount of polishing compound to a microfiber cloth and rub it into the scratch using circular motions.
Buff the Area
Continue rubbing until the scratch is no longer visible, then wipe off excess compound with a clean microfiber cloth.
Apply Wax
Wax the area to protect the repaired clear coat and restore shine.
Base Coat Scratch Repair
Clean and Prepare
Wash the area and sand the scratch lightly with 2000-grit sandpaper to smooth the edges.
Apply Touch-Up Paint
Use the correct color match (check your VIN sticker for paint code) and apply thin layers of touch-up paint, allowing each layer to dry.
Polish and Wax
Once the paint is fully dry, polish the area to blend it with the surrounding paint, then apply wax.
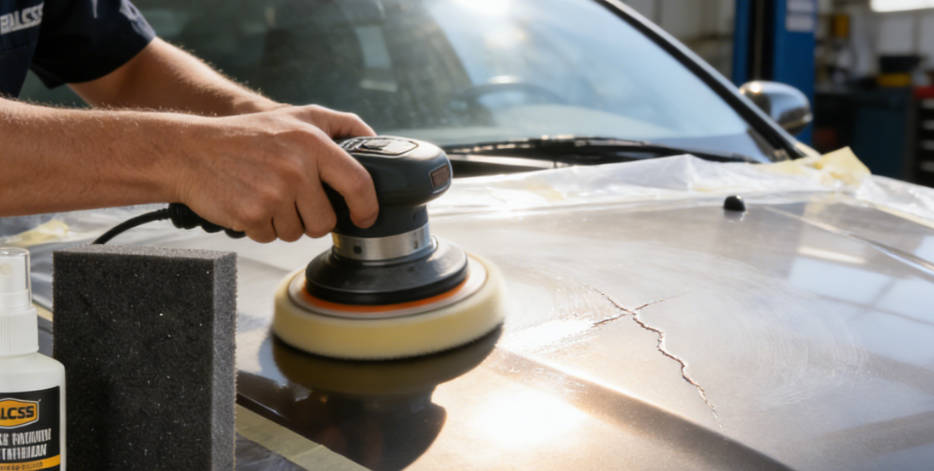
Visual Demonstration
Step-by-step demonstration of DIY scratch repair process
When to Seek Professional Help
Important!
While DIY repairs work for minor scratches, some situations require professional attention.
Consider professional repair if:
- The scratch exposes bare metal (to prevent rust)
- The scratch is longer than a few inches
- Multiple panels are affected
- DIY repairs haven't blended well
- You're unsure about the repair process
Conclusion
Discovering a scratch on your new car doesn't have to be a disaster. By understanding the different types of scratches, learning proper repair techniques, and implementing preventive measures, you can keep your vehicle looking its best.
Remember that minor scratches can often be fixed with DIY methods, but deeper scratches that expose metal should always be handled by professionals to prevent rust and ensure proper repair.
With regular maintenance and careful parking habits, you can minimize the risk of scratches and enjoy your new car's pristine appearance for years to come. Don't let a minor blemish overshadow the joy of owning a new vehicle!